Today we are going to be Crafting with the Grobmyers instead of dinner/cooking with the Grobmyers. Mesh wreaths are all the rage right now, and I made one I am proud of, even if I say so myself. I just had to share it with you.
The first thing I did a day ahead was paint the letters. I found these pretty letters at Hobby Lobby. They are a little frilly so if you want more boxy letters they have those as well. I painted them white and it took two coats to cover them well. I also had to use some sand paper to smooth some rough edges.
After they were painted. The directions even said you could put glitter on the letters but that is a mess that keeps on giving. I didn't want a trail of glitter all over the house.
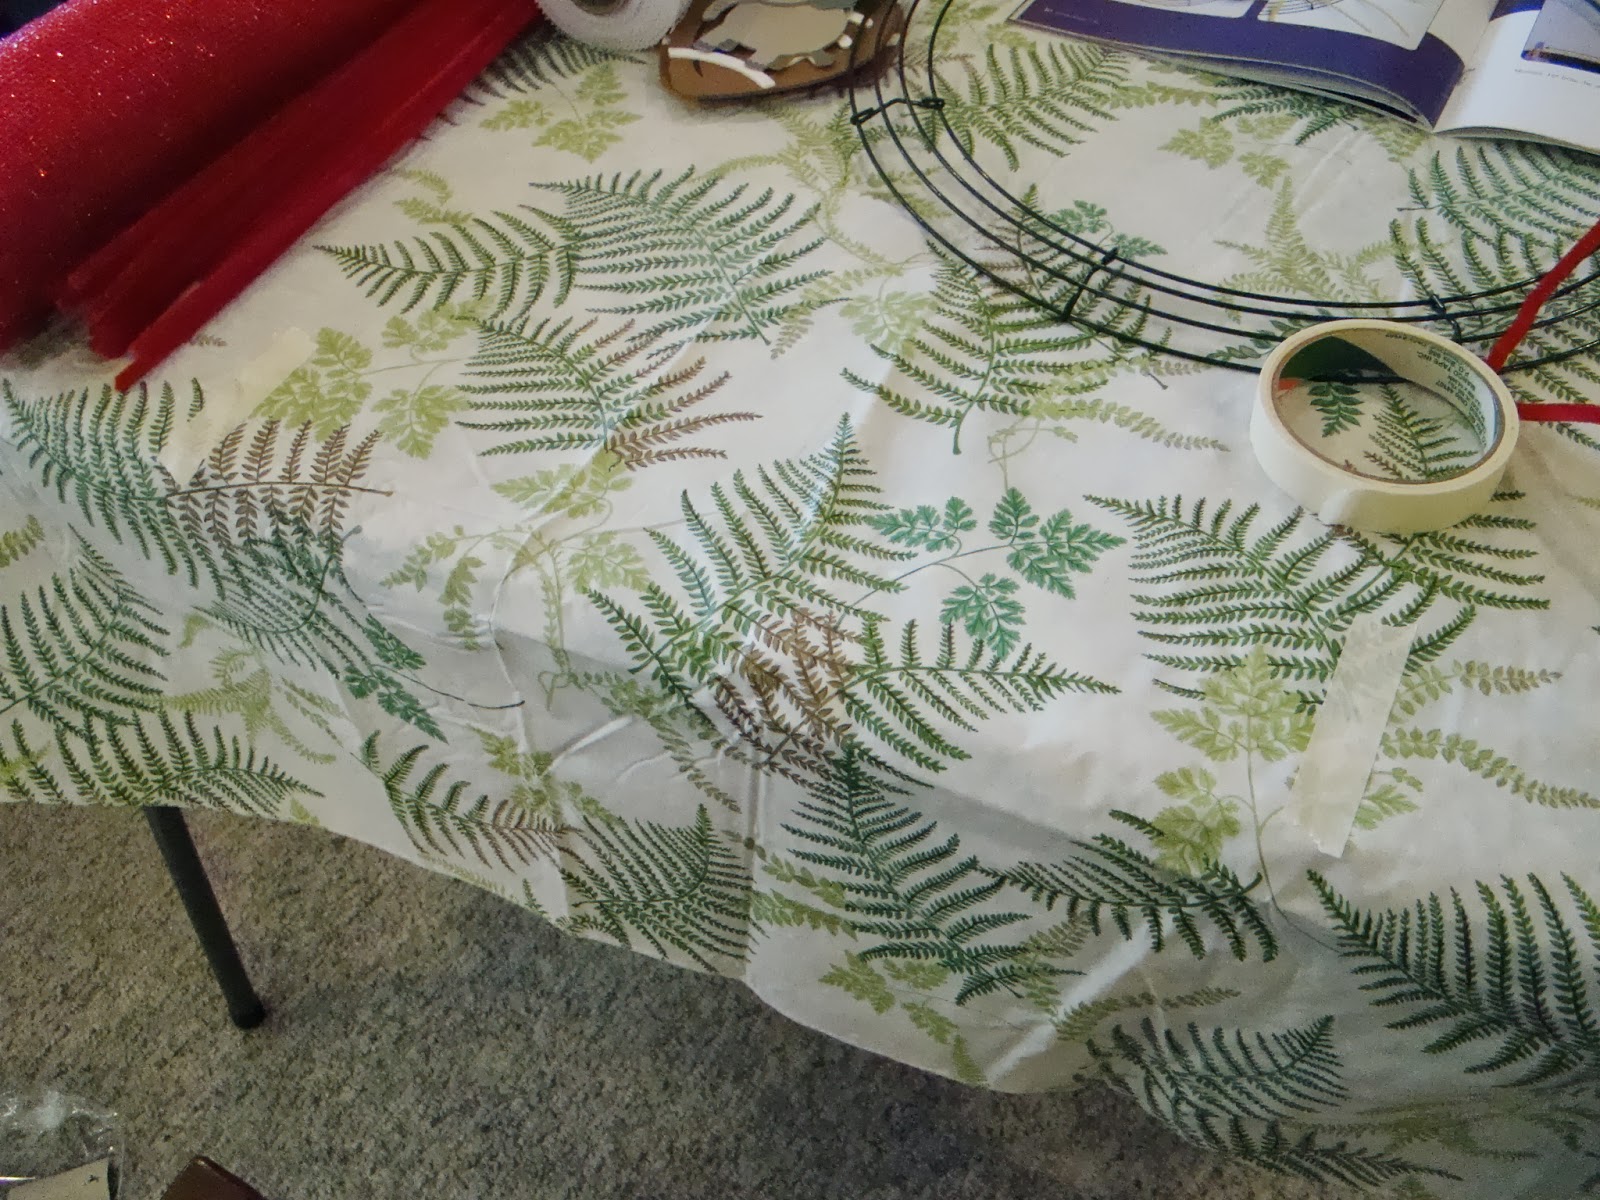
Now it is time to put it all together. You can make this wreath in any colors you might like or your favorite team colors. You use one 21 inch 10 yard roll and 1 5 1/2 inch 6 yard roll. I didn't use much of the white and I could go and add more later if I like. Then you will want some ribbon that coordinate with the mess. It is easier if it is wired. You can also add some wooden pieces too.
Mark off with masking tape 16 inches. When you are measuring out the mesh each time it doesn't have to be exact.
You can do this part a couple of different ways. The directions say to use 22 pipe cleaners. The pipe cleaners need to match the mesh. I used 20 pipe cleaners. This is what I did. You see on the wire wreath that there are 4 rows of circles and that there are dividers. between the dividers I alternated putting three pipe cleaners and put them on different rows, then on the second divided section I put 2 in different rows. I did this all the way around the wreath. Hopefully it will make sense when you see it.
Measure out the 16 inches.
Gather the end and twist.
Wrap the pipe cleaner around it until it is tight. We will go back and tuck the pipe cleaners under when we are finished.
Get a second pipe cleaner. Now you can put the pipe cleaners on ahead of time or as you go. You decide how you want to do it. I put it through a different ring.
Measure 16 inches, crimp the end and twist the pipe cleaner to tighten.
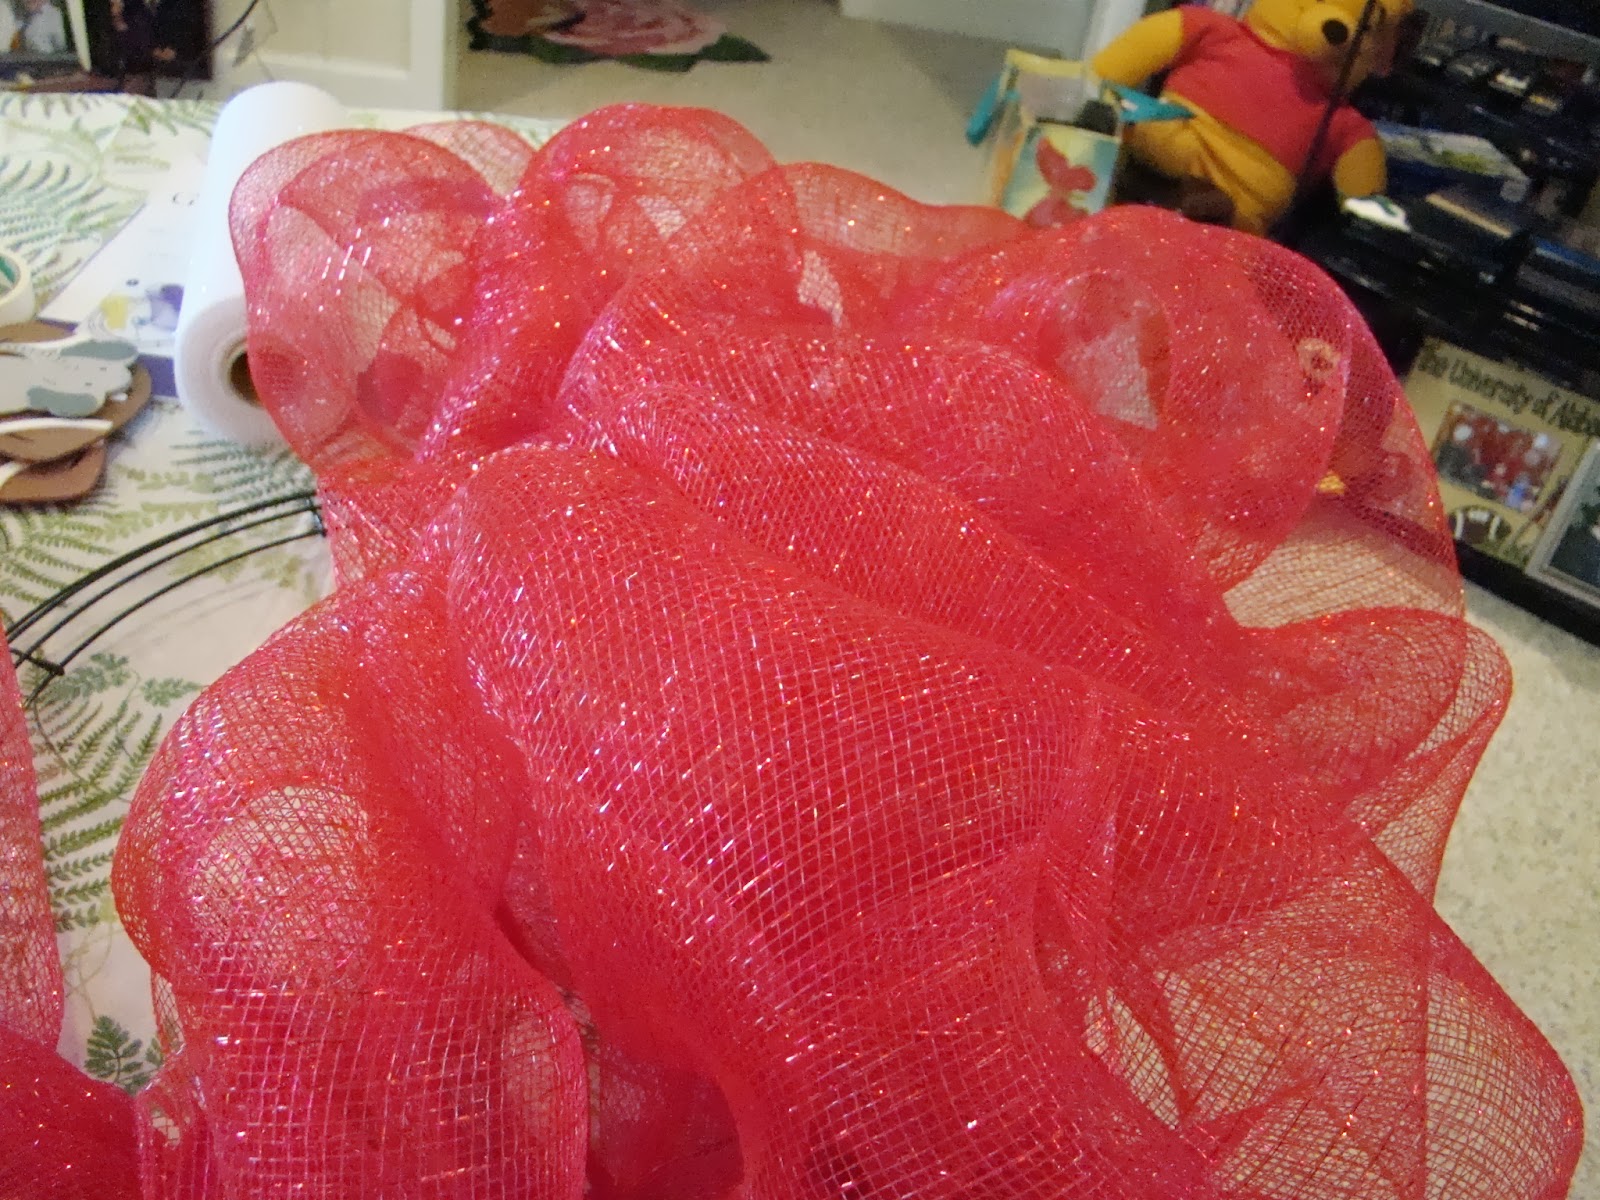
Got a couple of the loops done. You can fluff and tug when finished.
Got all the red finished.
I didn't measure the white pieces. I need longer pieces than this next cut. Gather the four corners together to make a loop.
I had a couple of white pipe cleaners. Twist to close.
I found it was easier to work with hanging on the wall. Makes it easier to see where things need to go. I put some white loops in the wreath. You want to balance them out. I could have put more and you can put as many as you like.
Got all the white loops in.
Now for some ribbon loops. Again you can put as many or as few as you like. It helps if the ribbon is wired. I found this ribbon last year and knew it would come in handy. I used some florist wire to attach it.
You can also layer some of the loops. The white ribbon is wired the red is not. This is a good way to use ribbon that is not wired. Again use florist wire to attach.
I might go and add some more ribbon to the wreath later.
I had the hot glue gun heating up while I was doing the ribbon so I could add the letters. You will want to test to see if they will fit well. Also you want to make sure there is a place to attach the letters.
Then I added the wooden footballs. The wreath is finished and I am almost ready for football season.
I hope you enjoyed this change from the DinnerwiththeGrobmyers. I might bring you some additional craft ideas from time to time if you enjoyed this one. I know everyone won't like the red and white wreath but you can use this tutorial to make it whatever you like. There is a pretty blue one with snowflakes that would be pretty for winter.


No comments:
Post a Comment